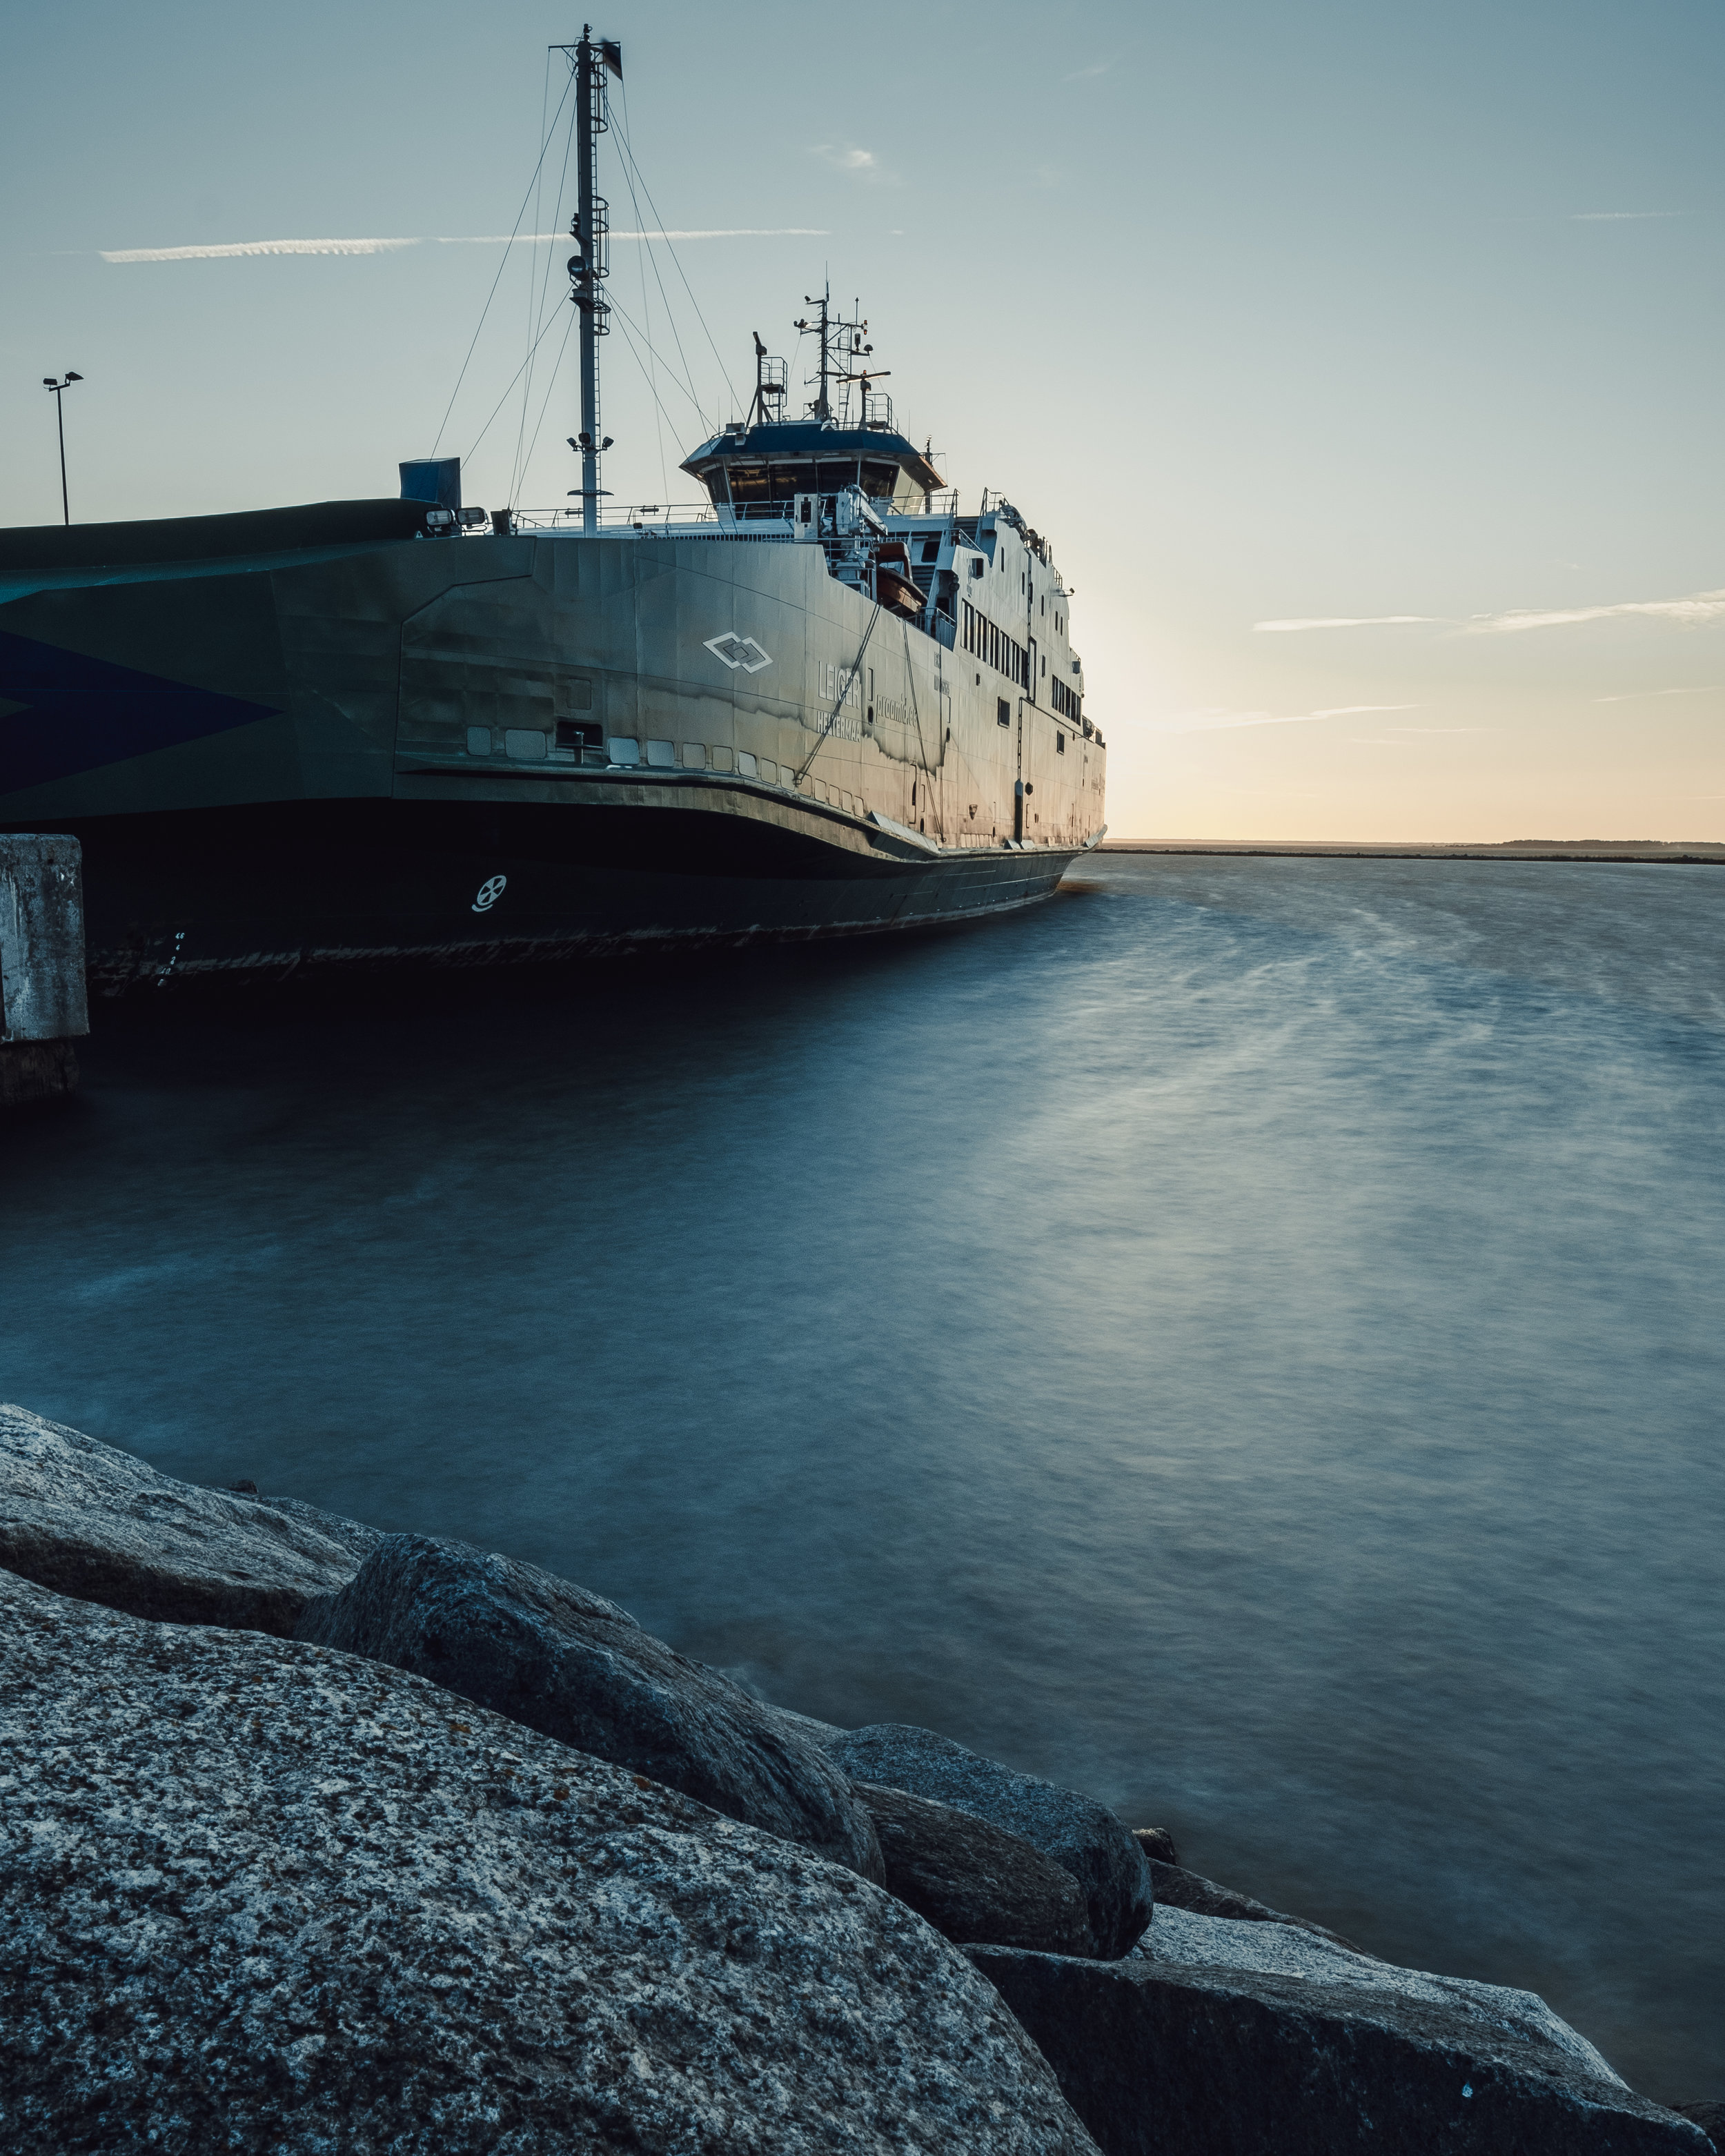
In collaboration with Hoya I will be helping you get started in long exposure photography with this little guide. Using longer exposures during night time is simple, as you have a lot less light to work with, so closing up your aperture will generally do the trick and you won’t need any additional equipment. Achieving long shutter speeds in a single exposure during daytime is another story, however. For this you will definitely need some Neutral Density (ND) filters, which over the years have gone up in quality and down in price, making them available to practically every photography enthusiast.
Neutral Density filters reduce the amount of light reaching your sensor by a specified number of stops while keeping any colour cast to a minimum. This allows you to use longer exposures during the day. It is useful to own a few different strengths of them, so you can combine them according to your needs and lighting conditions.
While landscape photography is definitely the best playing ground for long exposures and getting those silky smooth water surfaces and clouds, there are still a few key tips you should keep in mind.
1) Sunny days aren’t always the best option for long exposures! Stay on top of the weather and prefer days with an overcast to better control your shutter speed.
2) Tripod! This is absolutely essential for long exposures, so make sure you have a sturdy tripod to rest your camera on.
3) Lock your focus or use manual focus, especially if you’re taking several consecutive shots.
The overall shutter speed will largely depend on the effect you’re trying to achieve. Using exposures in the magnitude of a few seconds is great for waterfalls and smoothing out waves. Exposures spanning several minutes will completely lose any texture in the water surface and create an ethereal look, which could be useful if you’re going for a fine art style of photography.
Let’s use waterfalls as an example. This is the scene we are working with, without using any ND filters, shot at 1/3000s:
Fast shutter speeds are great at freezing time, but may not always get you the look you are going for. Let’s use some ND filters to smooth out the waterfall. For these shots taken at Keila-Joa, Estonia I stacked Hoya PROND8 and Hoya PROND64 to get me a total of 9 stops in light reduction.
Fujifilm X-T2 + Hoya PROND8 + Hoya PROND64, 16mm, F16, ISO200, 5.3s
Fujifilm X-T2 + Hoya PROND8 + Hoya PROND64, 16mm, F16, ISO200, 4s
Fujifilm X-T2 + Hoya PROND8 + Hoya PROND64, 16mm, F16, ISO200, 4.5s
Fujifilm X-T2 + Hoya PROND8 + Hoya PROND64, 16mm, F16, ISO200, 5.3s
Now let’s move to another location and photograph the Jägala Waterfall in Estonia using the same principles:
Fujifilm X-T2 + Hoya PROND8 + Hoya PROND64, 16mm, F11, ISO200, 4.3s
In addition to waterfalls, ND filters can also easily be used at your nearest river, lake or sea. If the body of water you are photographing has at least some waves, using shutter speeds of up to 30 seconds will create a mysterious “misty” look to your photo, as if the rocks are covered by fog.
First, let’s take a look at how the scene would look like using a shutter speed of 1/250s:
Not very pleasing to the eye, is it? We can change the look of this scene dramatically by reducing the amount of light reaching our sensor by 9 stops and by using long shutter speeds:
Fujifilm X-T2 + Hoya PROND8 + Hoya PROND64, 16mm, F13, ISO200, 30s
Fujifilm X-T2 + Hoya PROND8 + Hoya PROND64, 16mm, F16, ISO200, 20s
Fujifilm X-T2 + Hoya PROND8 + Hoya PROND64, 16mm, F16, ISO200, 10s
Fujifilm X-T2 + Hoya PROND8 + Hoya PROND64, 16mm, F16, ISO200, 8.5s
If you have no waves to work with, using a long shutter speed will give your body of water a glassy textureless surface, increasingly so the longer your shutter speed.
Fujifilm X-T2 + Hoya PROND8 + Hoya PROND64, 16mm, F16, ISO200, 10s
Fujifilm X-T2 + Hoya PROND8 + Hoya PROND64, 16mm, F16, ISO200, 14s
As always, beauty is in the eye of the beholder and rules are meant to be broken, so there is no right or wrong way to long exposure photography. In the end, you are the artist! Hopefully this introduction has given you a few ideas, so make sure to grab a few ND filters and get shooting!
You can check out the page for Hoya filters at http://www.hoyafilter.com


