Infrared Photography
Landscapes are fun, but sometimes you just need to try something different from what you’re used to. Infrared photography is a great way to start looking at scenes from another perspective. In collaboration with Hoya here are some tips to get you started!
In a nutshell, infrared (IR) photography involves using the light towards the infrared spectrum (past 700nm).
There are two ways you use your camera for IR photography:
1) Having your camera converted for IR by a third party
2) Using IR filters
These two methods differ from each other quite a bit by concept. The upside to having your camera converted is that you can use faster shutter speeds and don’t have to use filters, but you do need to keep in mind that you will be limited to IR photography with that camera body from that point onward.
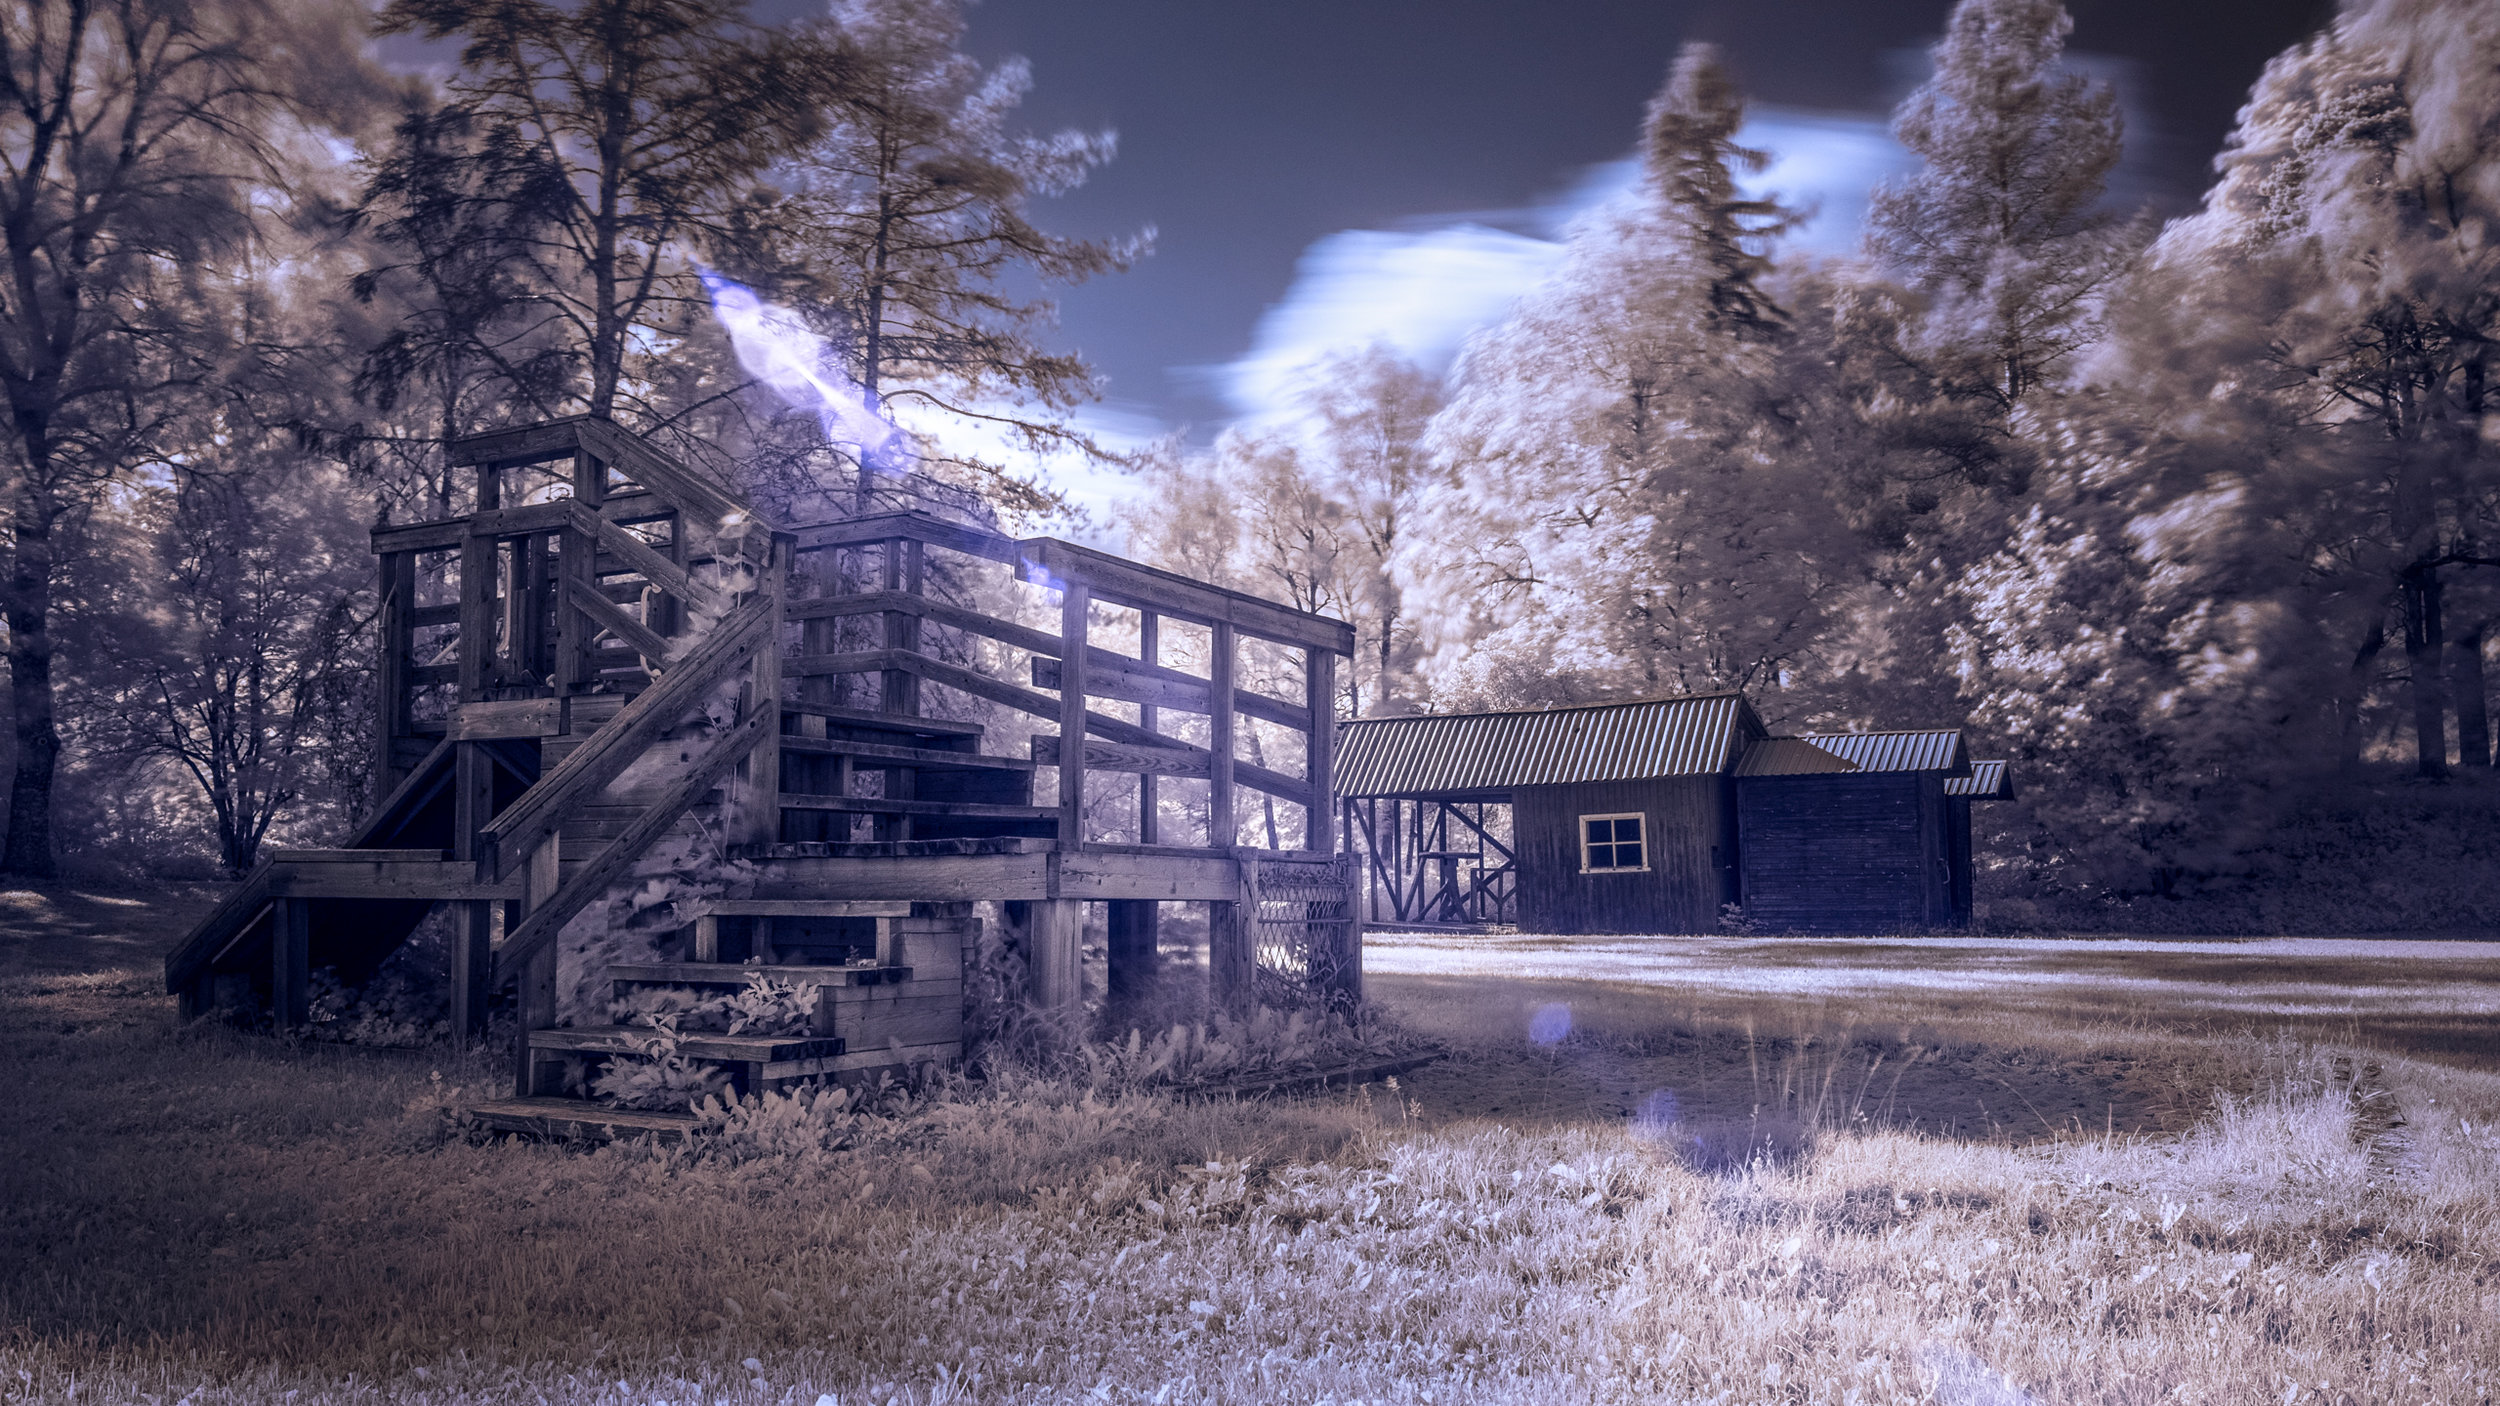
Using filters is definitely the cheaper option and you can take normal photos as soon as you remove the filter from your lens. However, as the filters are quite opaque, you will be cutting light reaching your sensor by several stops. Depending on your lighting conditions you may effectively be doing 2in1: infrared + long exposure photography, which in turn can give you some pretty cool ethereal effects, especially if you have leaves, grass or clouds moving in the wind.
You may have seen “Infrared” B&W presets in your editing software. While this tries to emulate the effect, you will never get the same result by converting a normal photo to an “Infrared B&W” one.
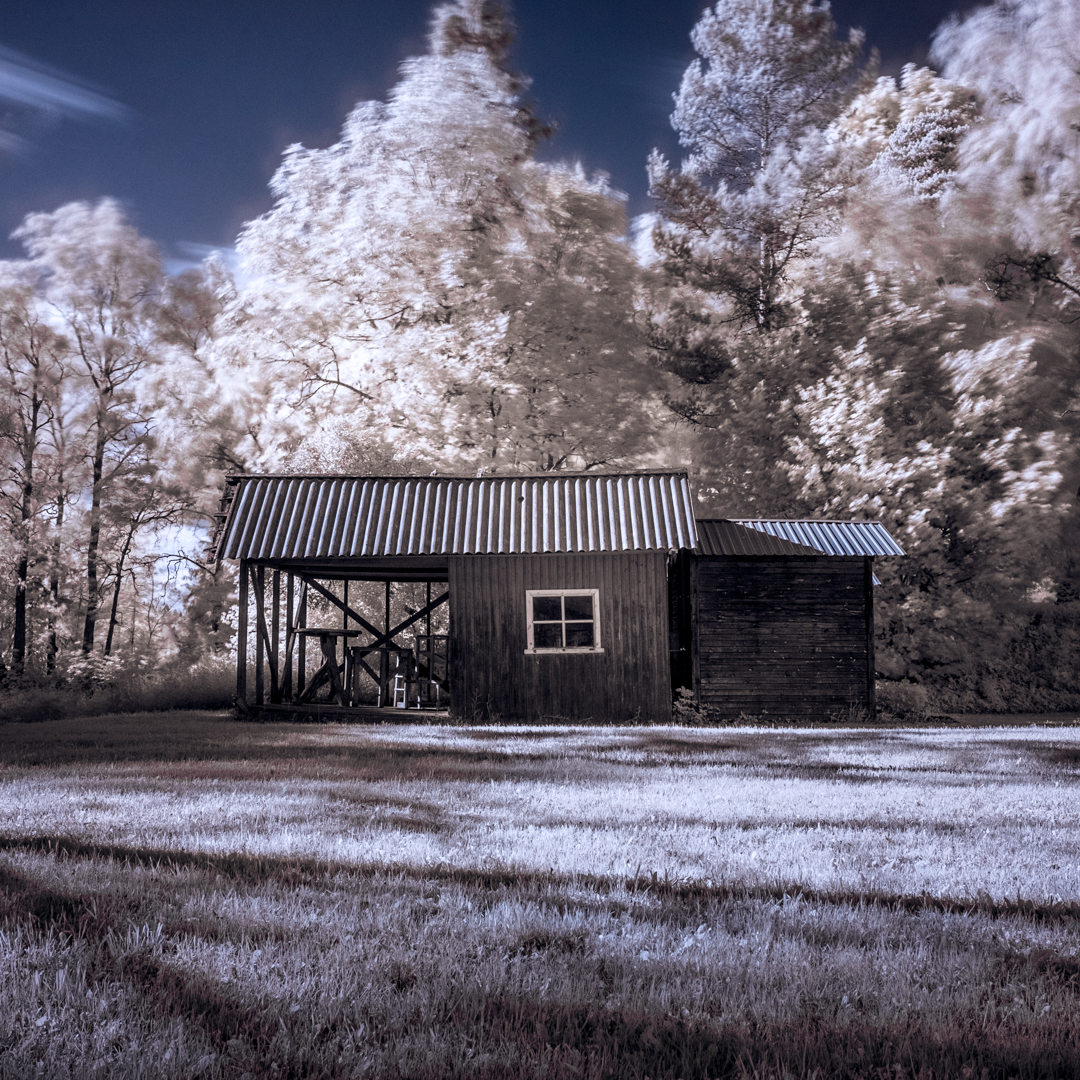
Using filters will give you clear white foliage and the images will look dynamic and 3-dimensional, something you cannot achieve with presets. Bear in mind that straight out of camera your images will look very red, so you do need to spend some time post-processing them, for which there are a number of great tutorials on the Internet.
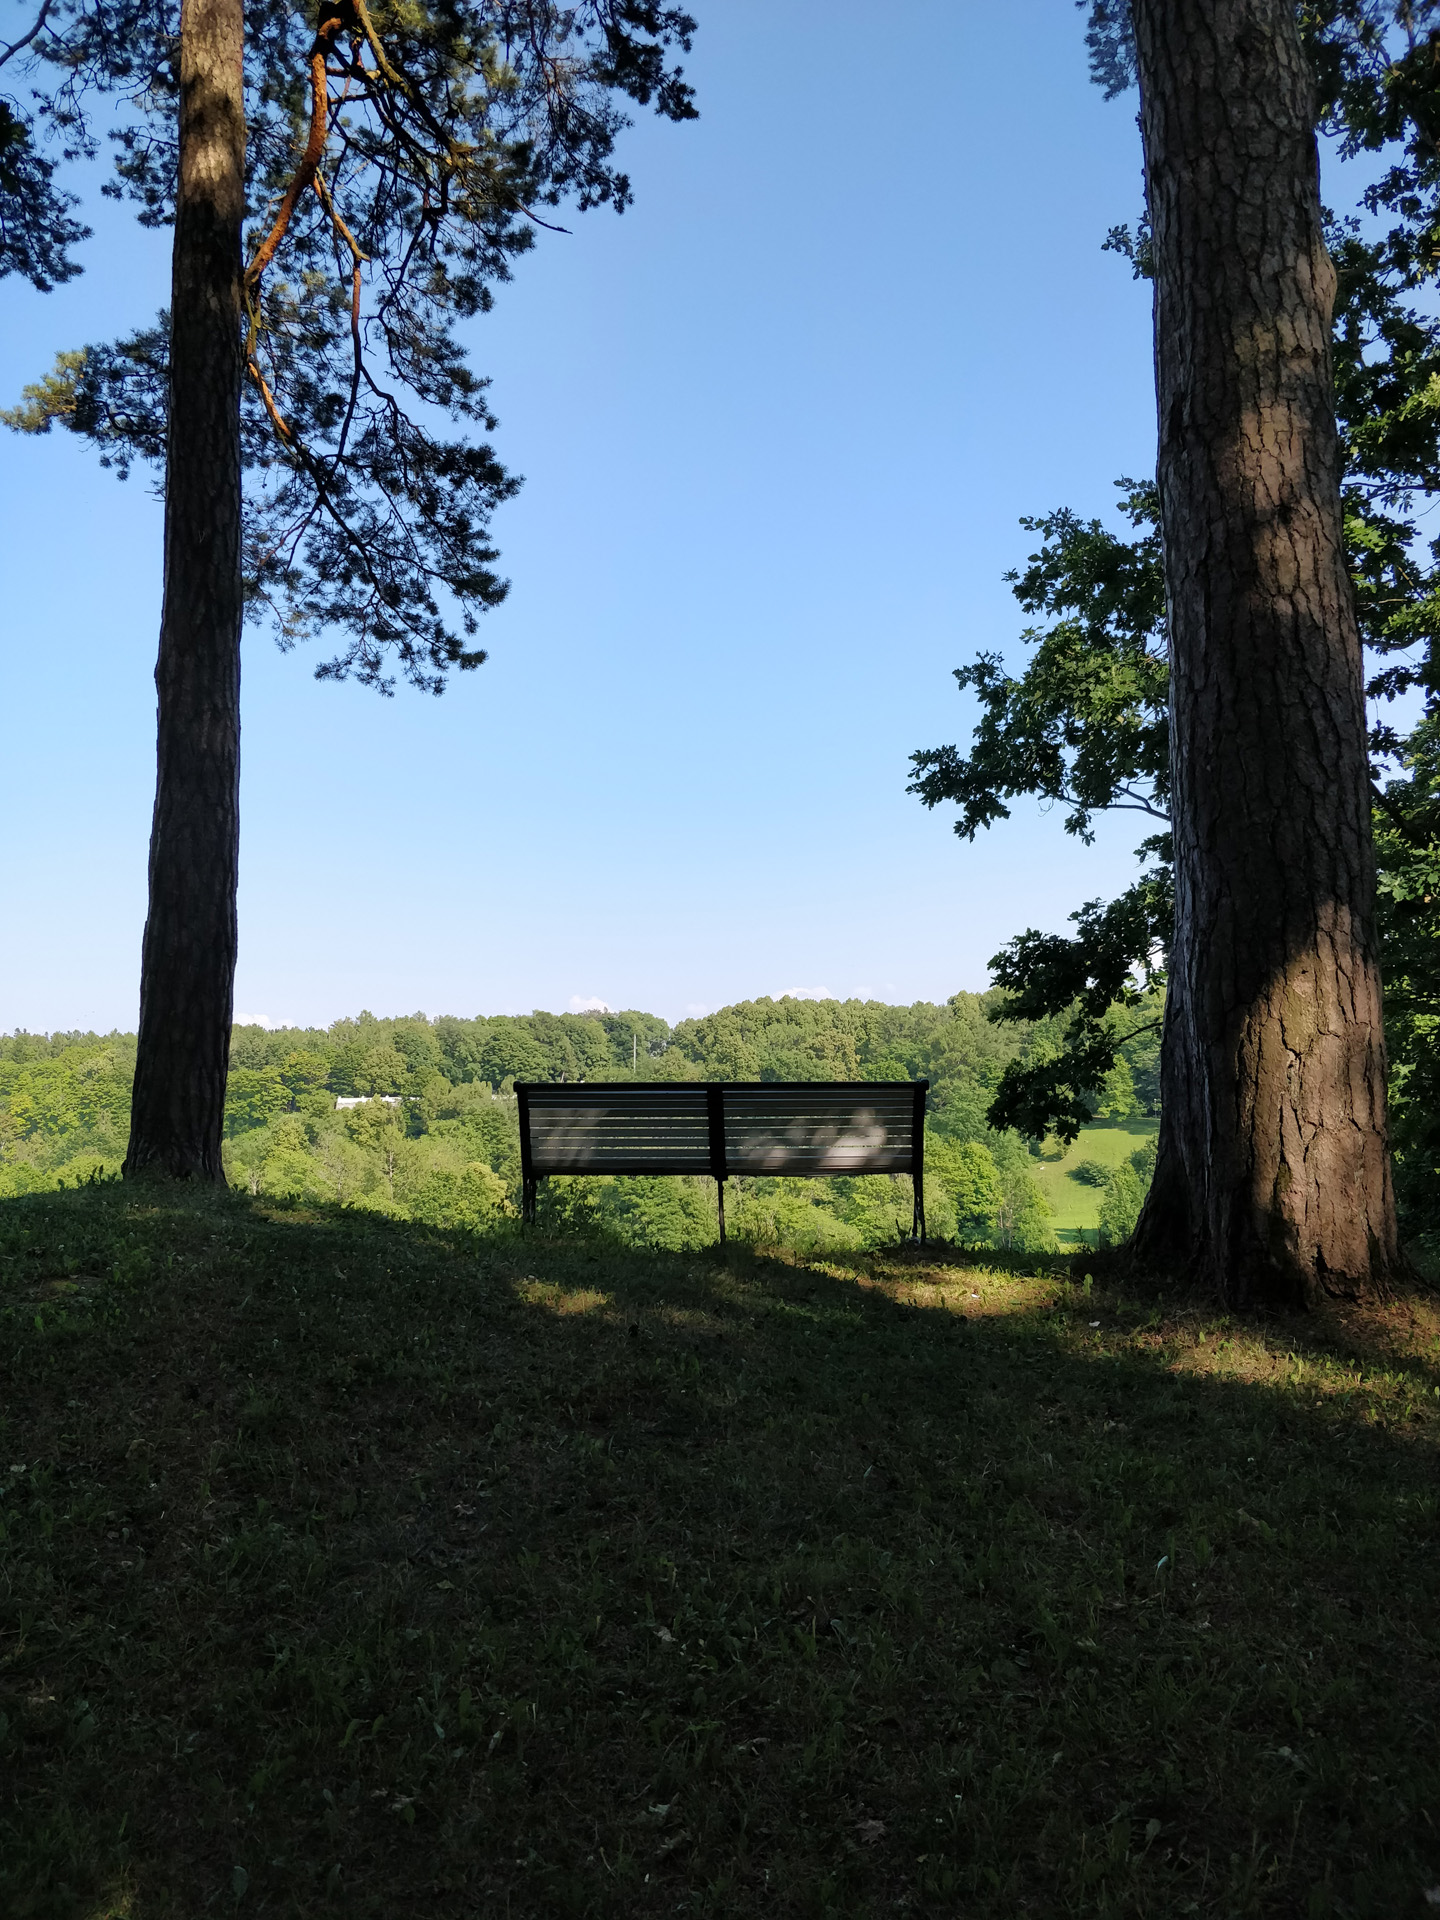
Now let's grab our tripod and take a look at our first scene:

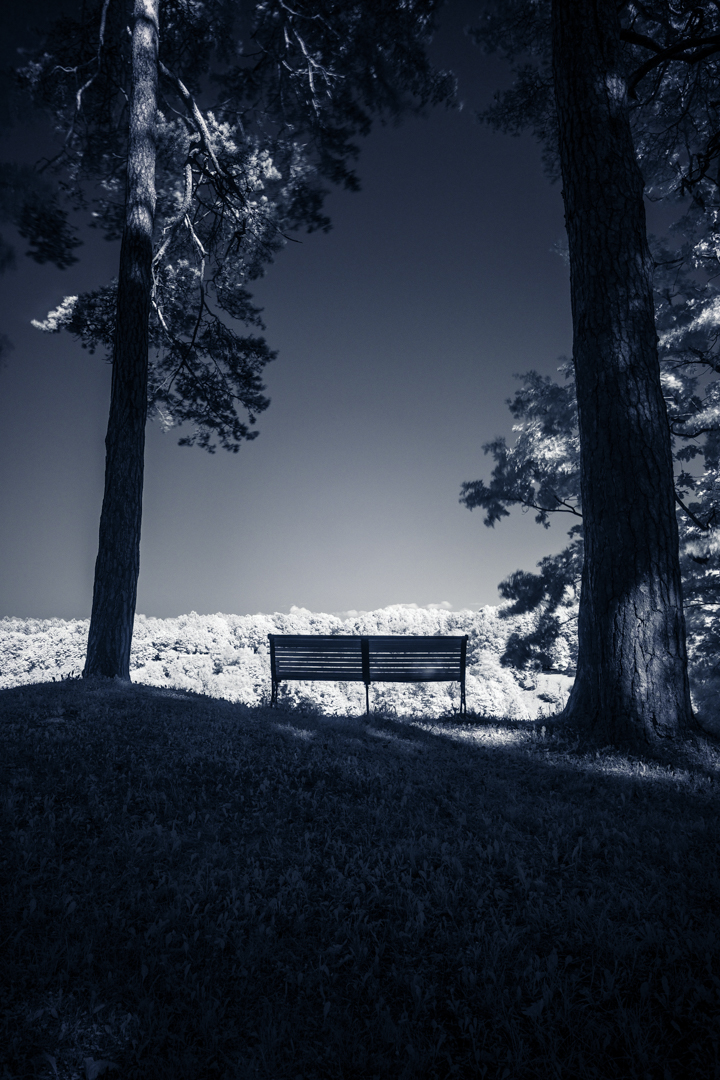
Looks cool, but we can make it better!

Infrared photography gives you punchy tones and dark skies, making it perfect for landscapes with lots of foliage.
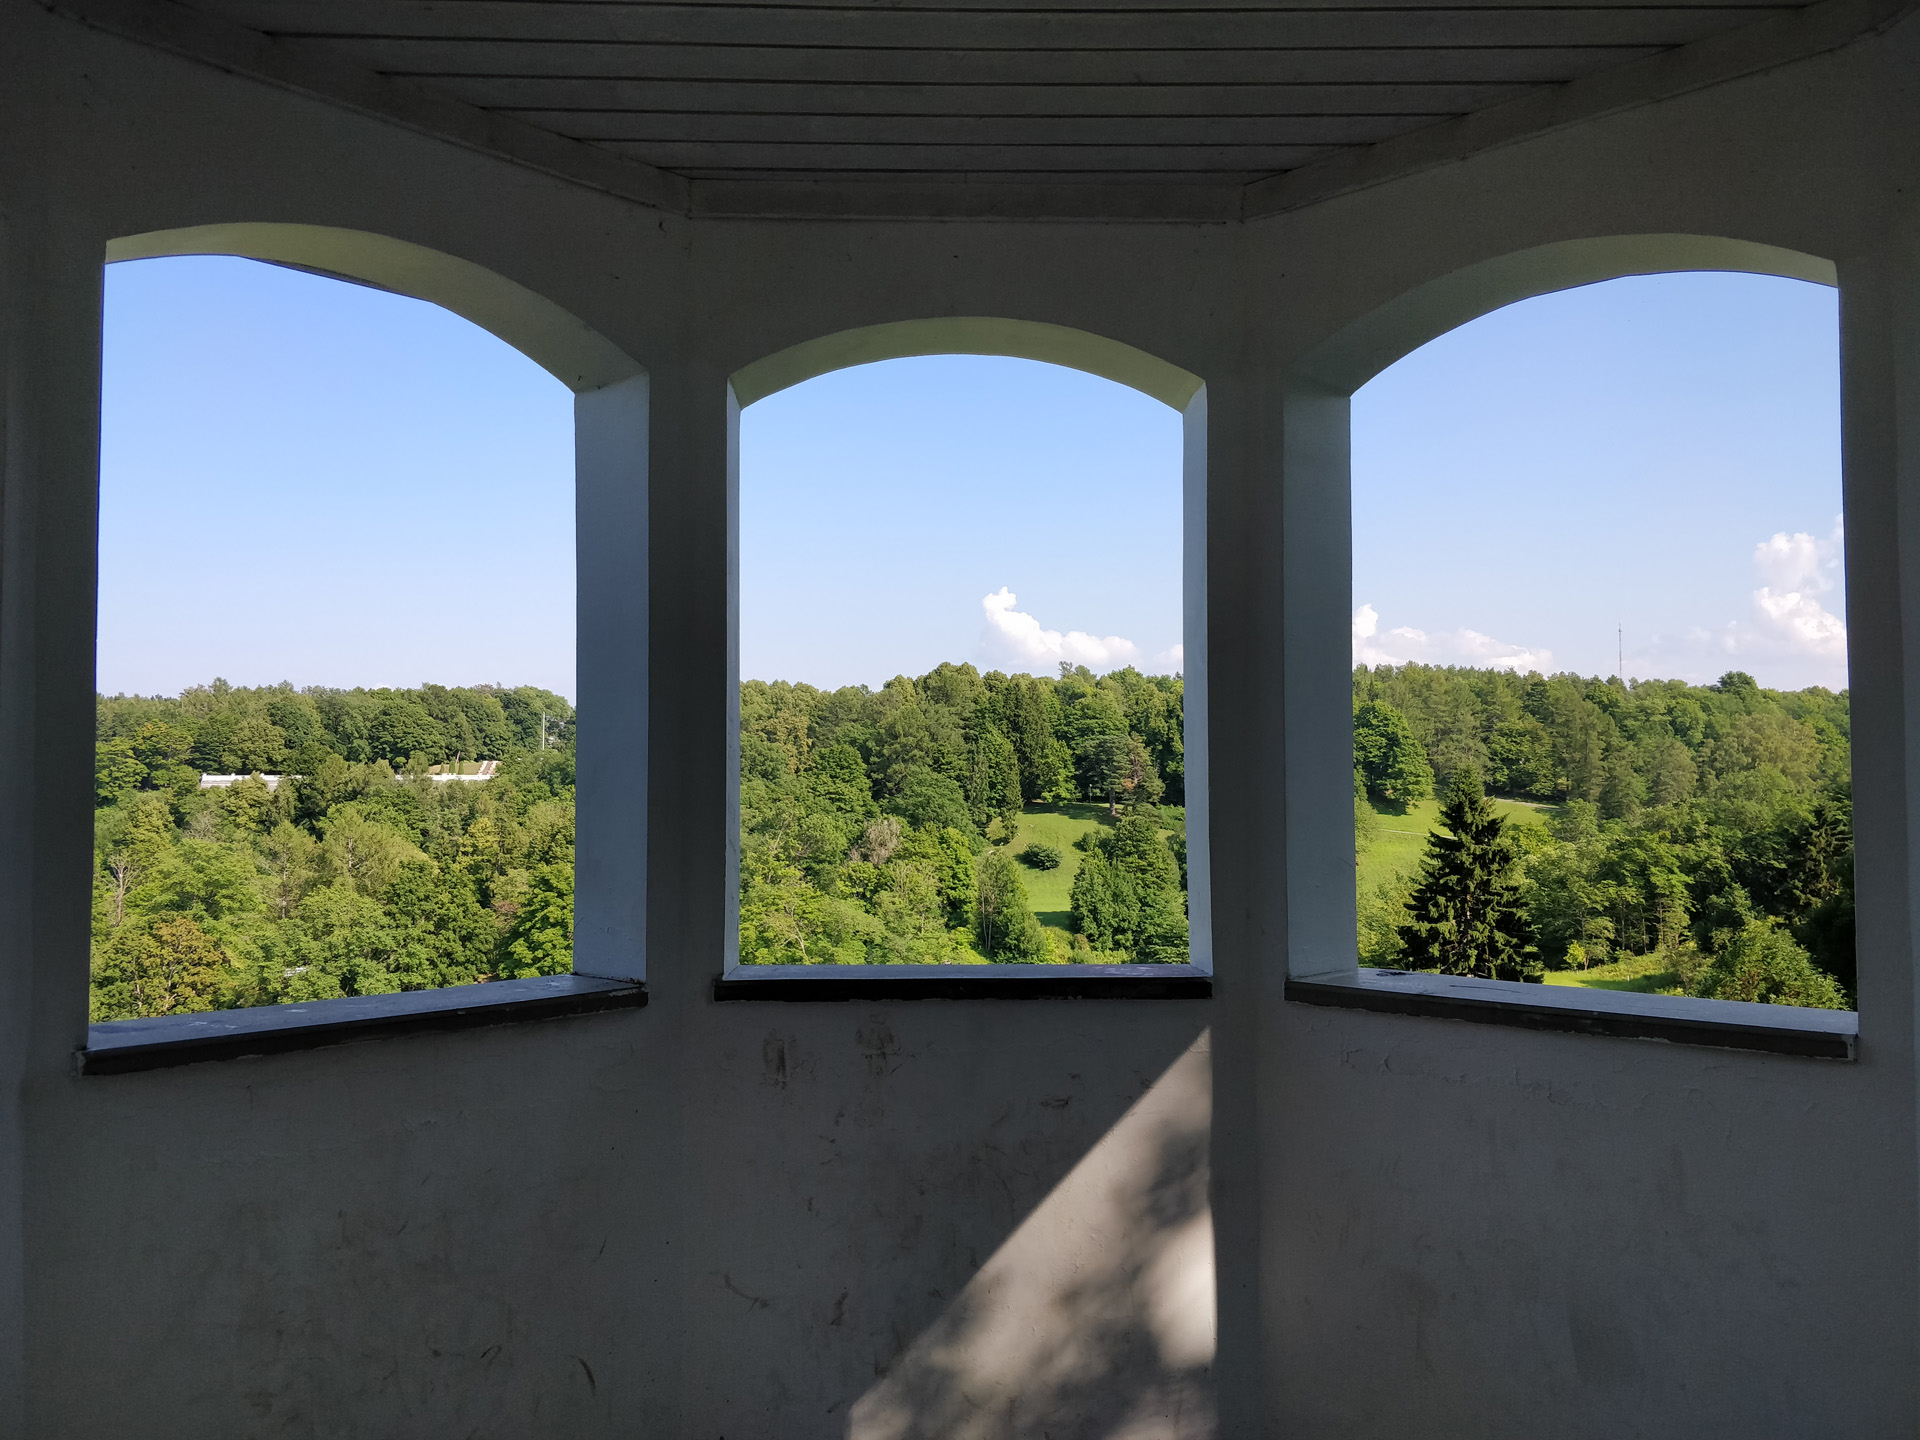
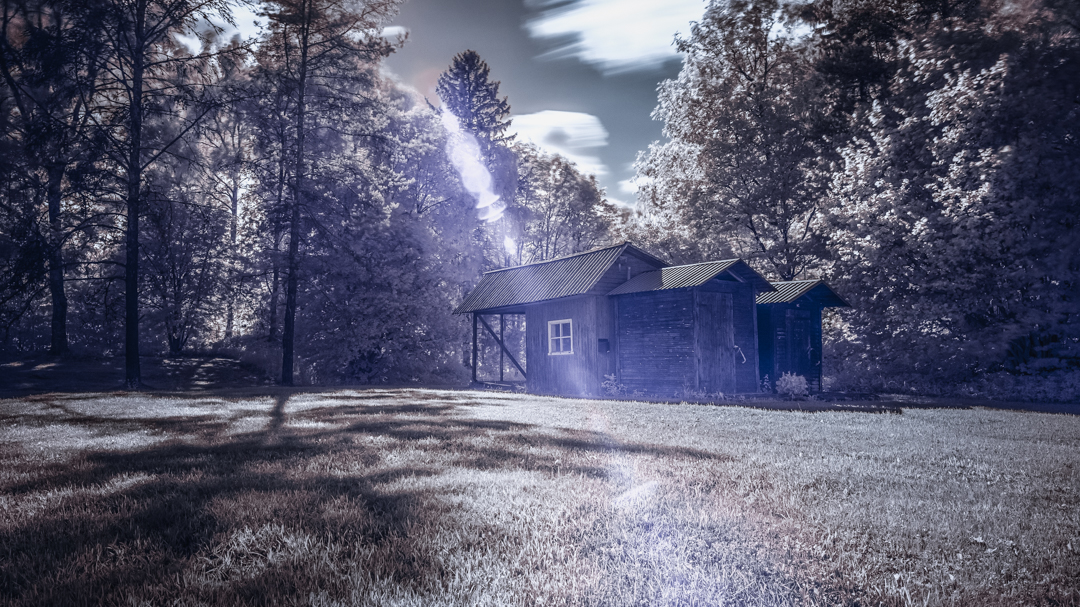
Here are some more before & after samples:
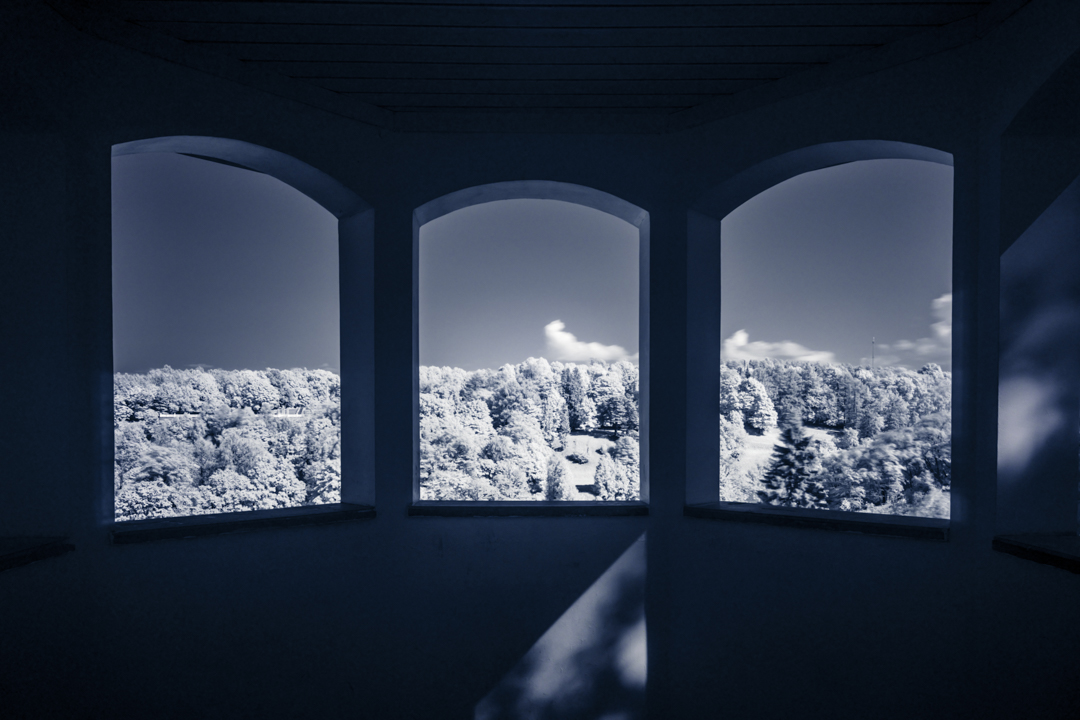
If you want to get really artistic, you can introduce lens flares and take your post-processing a step further, tweaking your colour channels:
Hopefully this cleared things up for you regarding infrared photography and made you want to grab your camera and go out shooting!
You can have a look at Hoya products over at hoyafilter.com